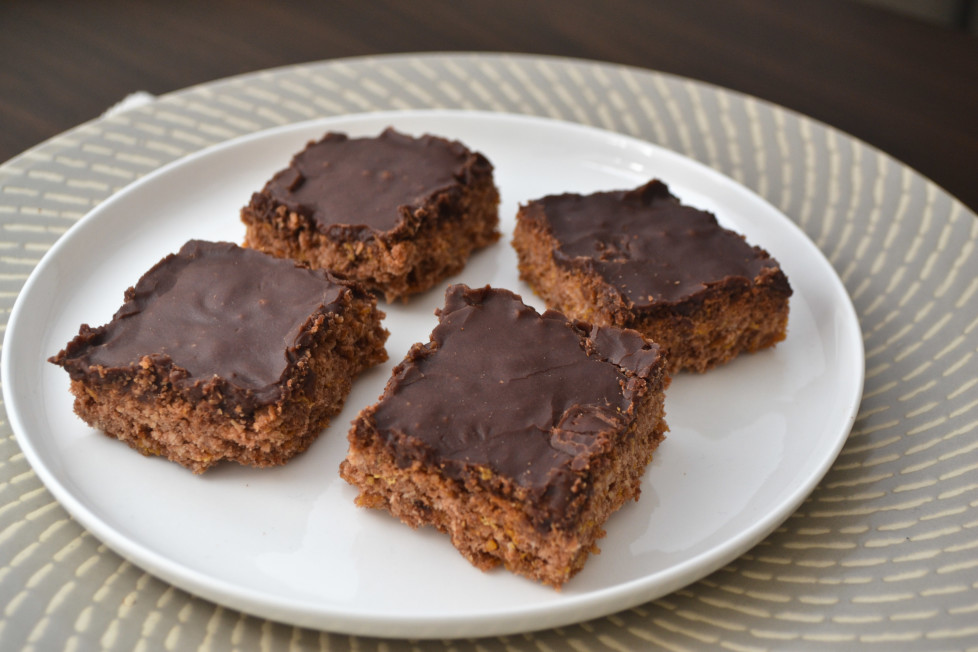
Chocolate Cornflake Crunch Slice
It’s been a really busy few weeks. Next Friday we are heading to the farm (after dropping the puppy off at the parent-in-law’s place) to start our 4 week, 7000km camping holiday. So we have been busy organising everything you need to complete such a trip and counting down the days until we leave. So exciting!! Oh and also throw in there, my university graduation ceremony tomorrow. Yay!
So in all of that, there hasn’t been a lot cooking going on but one thing that went down a treat was a slice that took me back to my childhood. As soon as I smelt it, I remembered that Mum used to make it. It is totally yum, and kids especially will love it, as it’s chocolatey and crunchy. The perfect combination. And even better, I’m pretty sure you will have all the ingredients in your pantry.
This recipe really can’t get any easier. You just mix all the dry ingredients together, then add the melted butter and combine well.
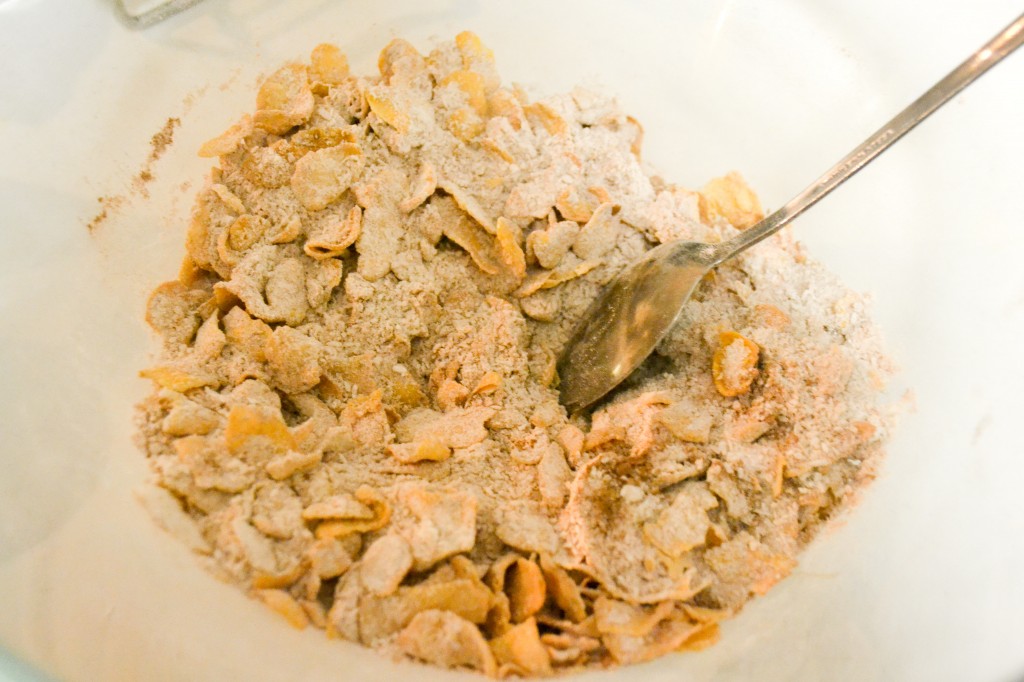
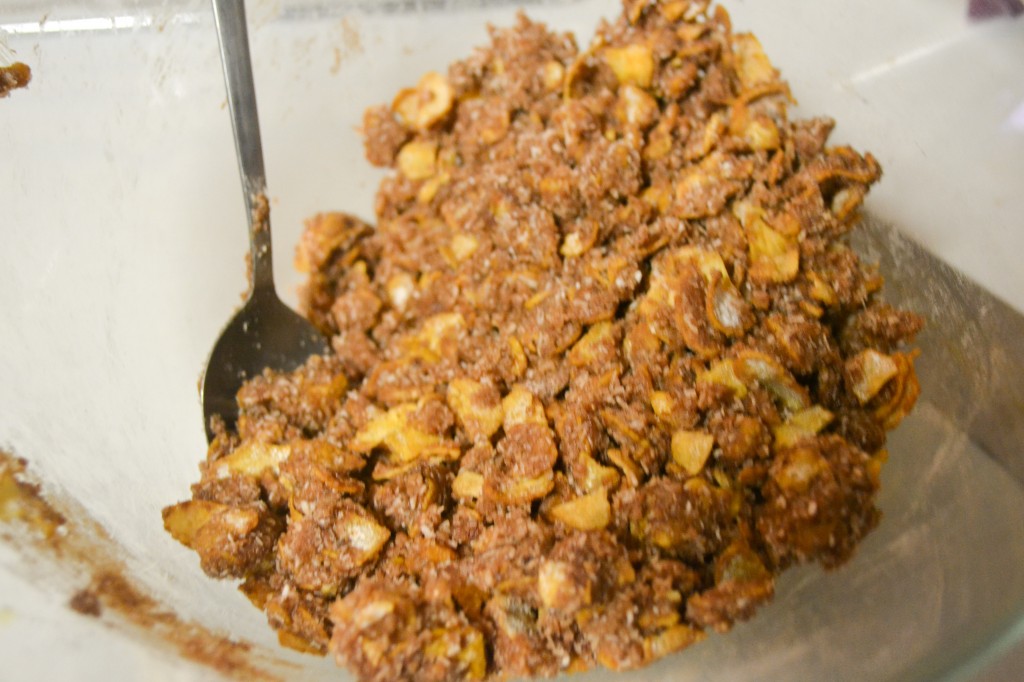
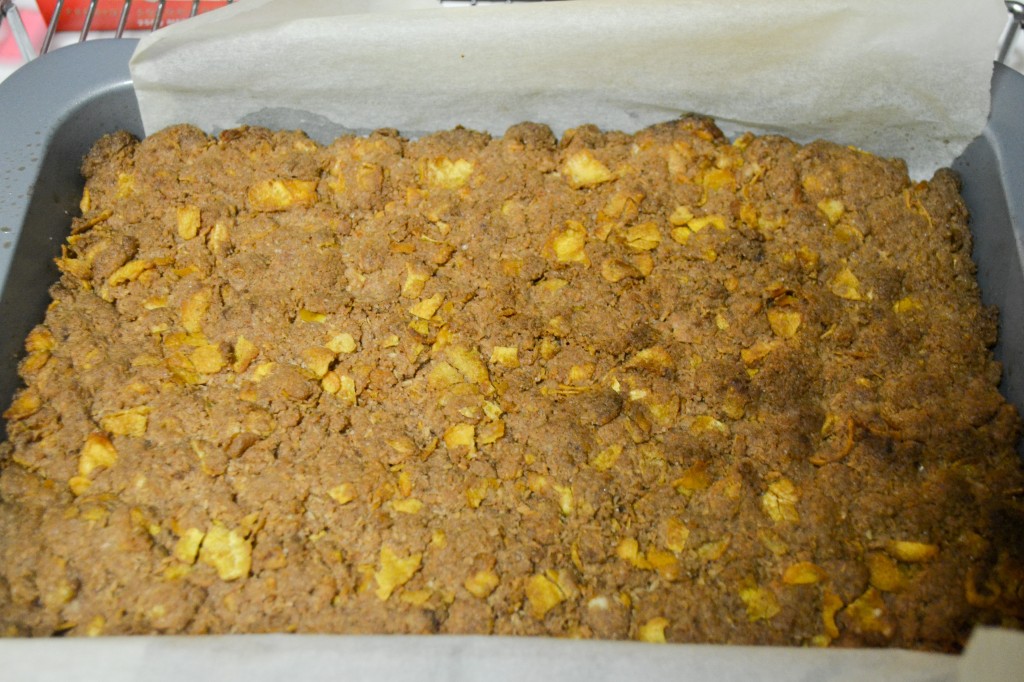
Press the mixture into a slice tin and bake in a moderate oven.
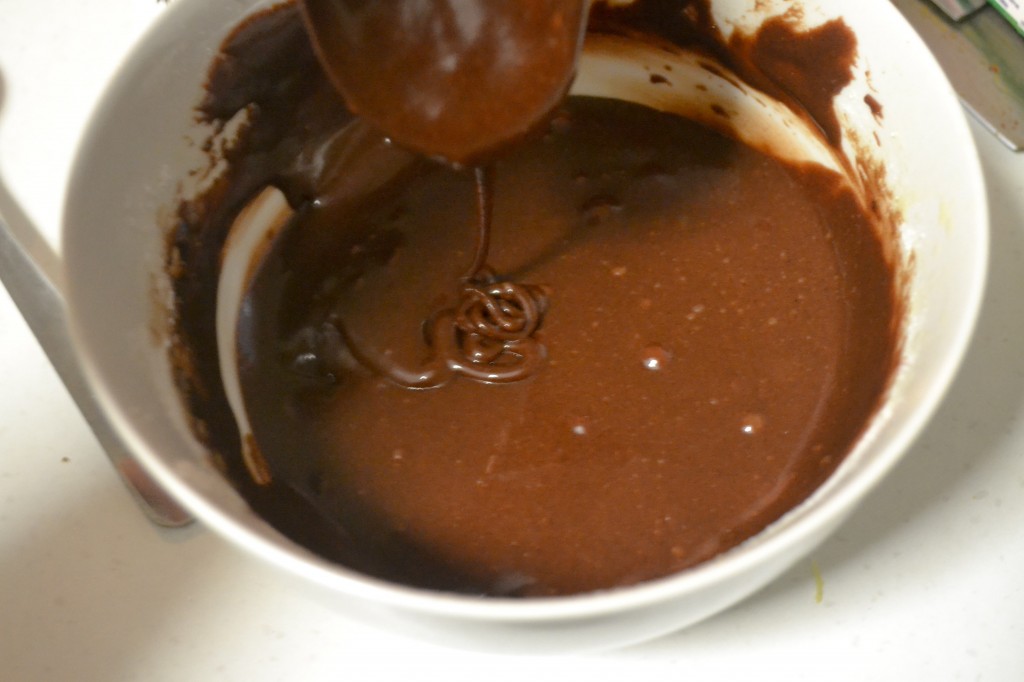
The icing is just as simple. Mix the cocoa and icing sugar together with a little hot water and stir well. Spread the icing over the slice and cut it while it is still warm (otherwise it will crumble if you try and cut it when cool).
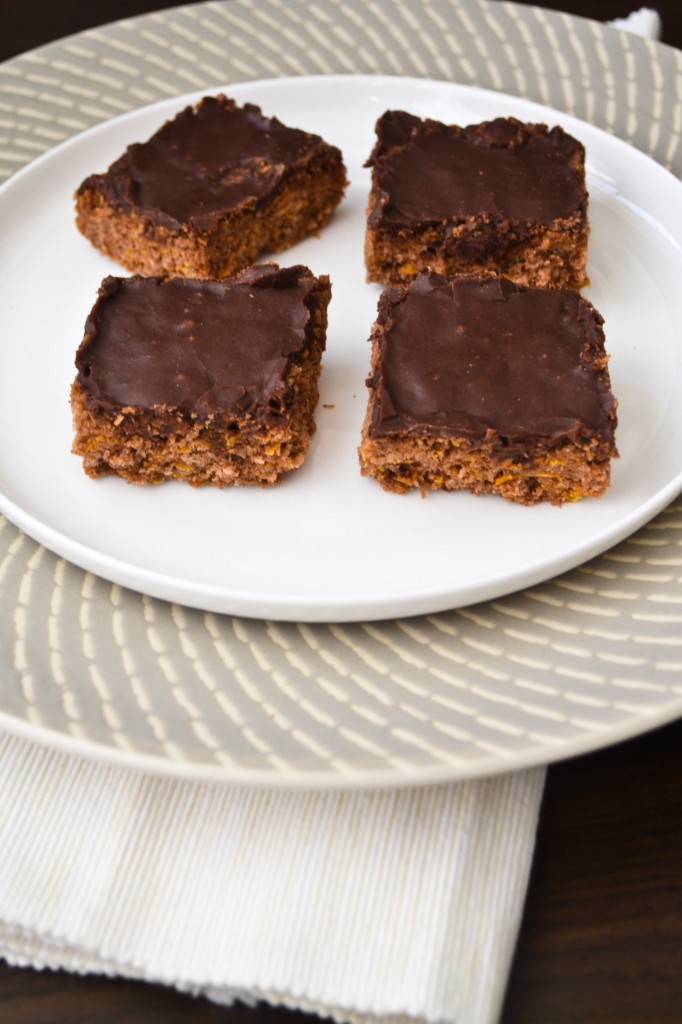
Chocolate Cornflake Crunch Slice
 Print recipe
| Serves | 15 |
| Prep time | 10 minutes |
| Cook time | 20 minutes |
| Total time | 30 minutes |
| From book | Devil's Delights |
Ingredients
Slice
- 1 1/2 cup Cornflakes
- 1/2 cup Sugar
- 1 cup Self Raising Flour
- 1 Dessertspoon Cocoa
- 120g Butter
Icing
- 1 1/2 cup Icing Sugar
- 2 tablespoons Hot water
- 1 tablespoon Cocoa
Directions
| Mix all dry ingredients together. Melt butter and stir into dry ingredients. Press mixture into greased and lined slice tin. Bake in a moderate (180 degree C) oven for 15 to 20 minutes. | |
| To make the icing, mix the cocoa and icing sugar together with the hot water. Add a little extra icing sugar or water if required to make a pourable consistency. | |
| Spread the icing over the slice and cut while still warm. Allow to cool before removing from tin. | |
Pin It
